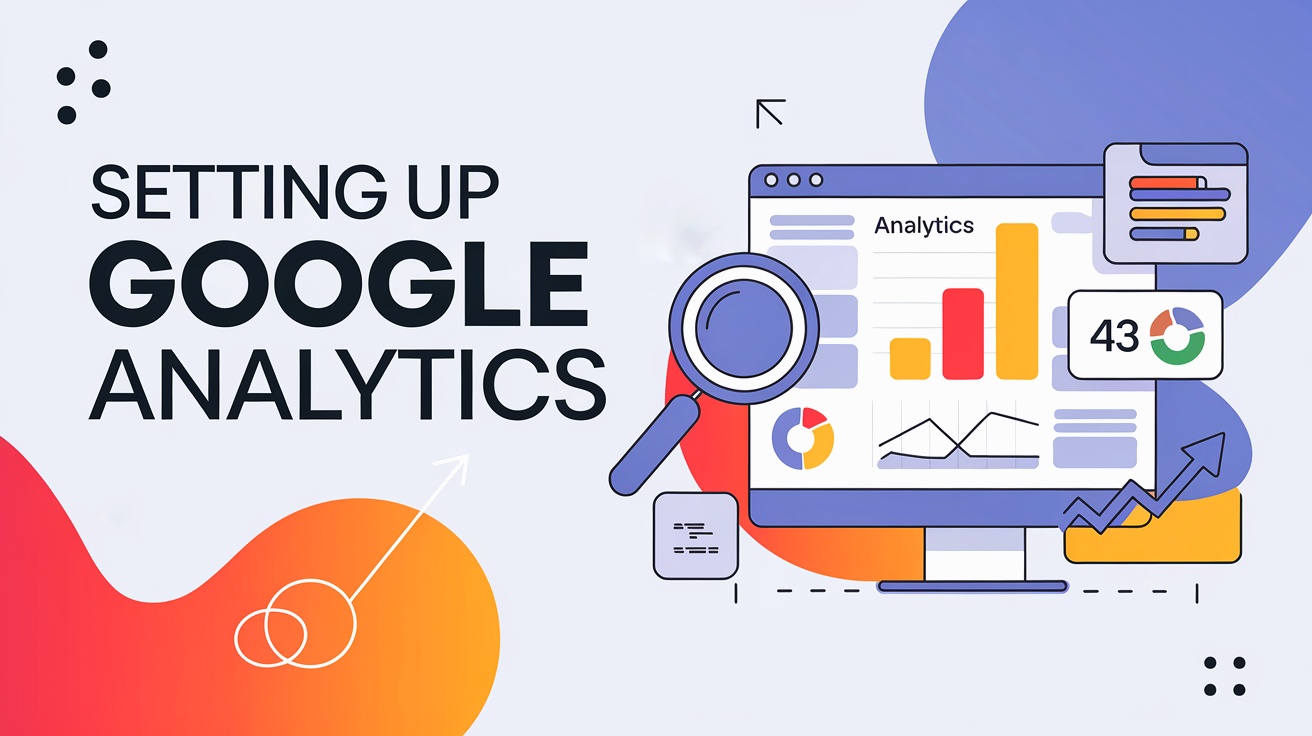
A Step-by-Step Guide to Setting Up Google Analytics in 2025
A Step-by-Step Guide to Setting Up Google Analytics in 2025
Google Analytics remains a powerful tool in 2025 for tracking website performance, understanding user behavior, and optimizing digital strategies. The latest iteration, Google Analytics 4 (GA4), provides advanced features like AI-driven insights, event-based tracking, and seamless cross-platform reporting. Here’s a step-by-step guide to setting up Google Analytics for your business in 2025.
Step 1: Create a Google Analytics Account
- Visit the Google Analytics website.
- Log in with your Google account credentials.
- Click on Admin in the lower-left corner of the dashboard.
- Under the Account section, click on Create Account.
- Enter a descriptive account name (e.g., “My Business Analytics”).
- Configure data-sharing settings according to your preferences.
- Click Next to proceed.
Step 2: Set Up a Property
Google Analytics 4 uses a property-based tracking model, which is essential for modern analytics.
- Under the Property section, click Create Property.
- Enter a property name (e.g., “My Website Analytics”).
- Select your time zone and currency settings.
- Click Next and provide details about your business, such as industry and business size.
- Choose your measurement objectives (e.g., “Increase online sales” or “Analyze user behavior”).
- Click Create to finalize the property setup.
Step 3: Configure Data Streams
Data streams enable Google Analytics to collect data from different platforms like websites and apps.
- Click on Data Streams under the Property settings.
- Choose your platform:
- Web for websites.
- iOS App for iOS applications.
- Android App for Android applications.
- For a website stream:
- Enter your website URL and stream name.
- Enable or disable enhanced measurement features, such as scroll tracking and outbound clicks.
- Click Create Stream to generate a Measurement ID.
Step 4: Install the Google Analytics Tracking Code
To start collecting data, you need to install the tracking code on your website.
- Copy the global site tag (
gtag.js) provided after setting up your data stream. - Paste the code snippet into the
<head>section of every page on your website. - Save the changes and test the implementation using the or the debug view in GA4.
- For platforms like WordPress, you can use plugins like Site Kit by Google to integrate the tracking code easily.
Step 5: Set Up Events
Events are central to GA4’s event-based tracking model. Configure them to track specific user interactions:
- Go to Admin > Events in your property settings.
- Click Create Event to define custom events based on existing parameters (e.g., button clicks, video views).
- Use Event Modifiers to add context, such as tracking events by URL or device type.
- Verify event tracking in the Real-Time report to ensure proper configuration.
Step 6: Link Google Analytics to Other Tools
Integrate Google Analytics with other Google tools to maximize its capabilities:
- Google Ads: Link your account to analyze ad performance and conversions.
- Search Console: Gain insights into organic search traffic and keywords.
- Google Tag Manager: Simplify tag management across platforms.
- Firebase: Track mobile app analytics seamlessly.

Step 7: Set Up Conversion Tracking
Define conversions to measure key actions that align with your business goals:
- Navigate to Admin > Conversions in your GA4 property.
- Click New Conversion Event and select an event from your event list (e.g., “purchase” or “signup”).
- Monitor conversion performance in the Conversions report under Reports > Engagement.
Step 8: Customize Reporting Dashboards
Google Analytics 4 provides customizable dashboards for focused insights:
- Go to the Explore tab in the left-hand menu.
- Choose a template (e.g., Funnel Analysis or Path Analysis) or create a new exploration.
- Drag and drop metrics and dimensions to build a dashboard tailored to your needs.
- Save your reports for easy access and share them with your team.
Step 9: Set Up Alerts and Notifications
Stay informed of important changes or anomalies in your data:
- Go to Admin > Alerts and click Create Alert.
- Define conditions for the alert (e.g., a significant drop in traffic or a spike in conversions).
- Add recipients to receive email notifications.
Step 10: Monitor and Optimize Regularly
Once your Google Analytics setup is complete, use the platform’s insights to optimize your performance:
- Analyze Traffic Sources: Understand where your visitors come from and focus on high-performing channels.
- Segment Audiences: Create audience segments based on behaviors, such as frequent buyers or first-time visitors.
- Leverage Predictive Metrics: Use GA4’s AI-driven metrics like purchase probability to target high-value users.
Conclusion
Setting up Google Analytics in 2025 is a straightforward process with immense benefits for your business. By following these steps, you can harness the power of data to make informed decisions, refine your strategies, and achieve your goals. Regularly review and optimize your setup to stay ahead in an ever-evolving digital landscape.